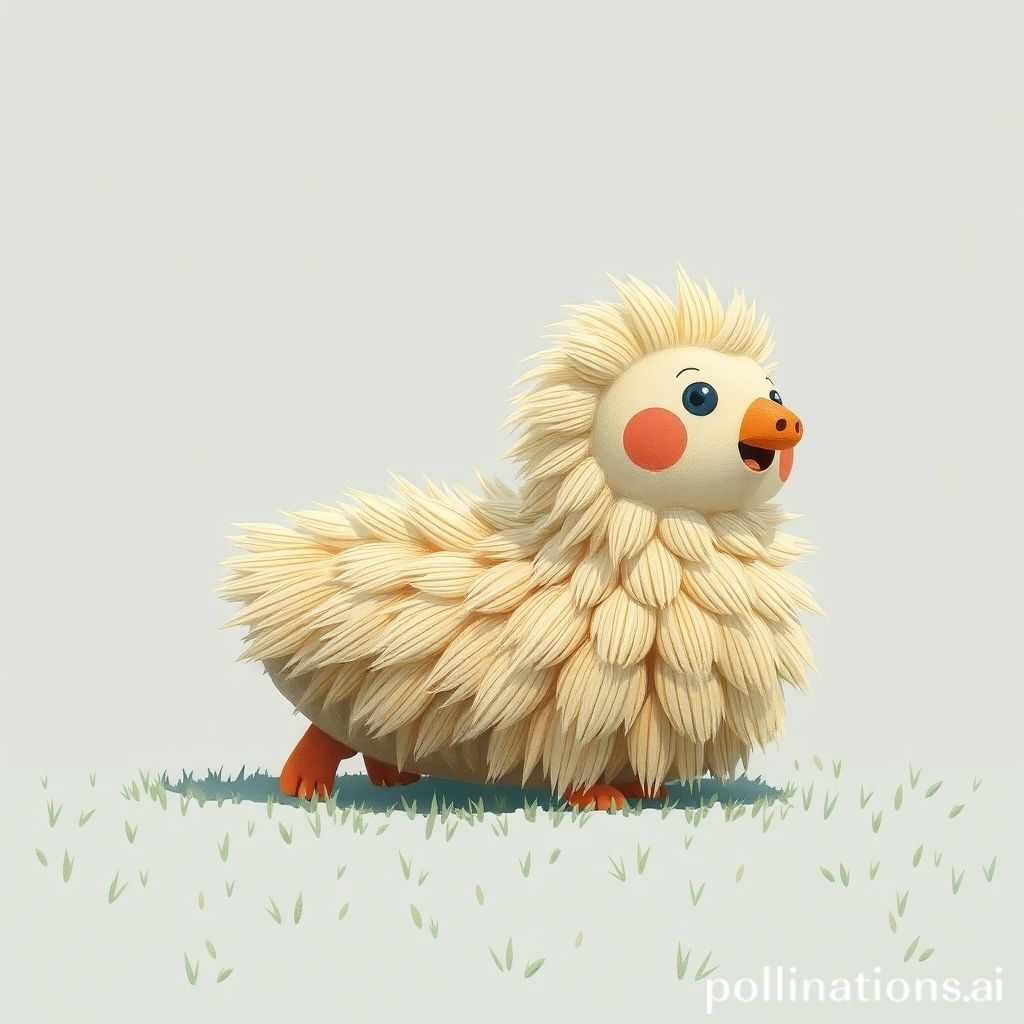
Images are an integral component of our internet communication in today's increasingly digital environment. Images have an important part in attracting readers' attention and expressing messages in a dynamic and memorable fashion, from social media to website design. Creating high-quality and visually appealing photos, on the other hand, can be a time-consuming and difficult endeavour, especially if you lack design skills or artistic flair.
Thankfully, the rapid growth of artificial intelligence and machine learning has opened up new opportunities for swiftly and easily generating graphics. ChatGPT, an AI-powered chatbot that uses natural language processing to generate graphics depending on a given prompt, is one such tool that has gained favour among designers, marketers, and content providers.
In this article, we will look at how to generate photos with ChatGPT in only one step. We will begin by reviewing what ChatGPT is and how it works, followed by a walkthrough of registering an account and setting up a prompt to generate your own photos. We'll also provide some pointers and methods to help you make the most of this powerful tool and produce visually appealing visuals that will capture your audience.
How to generate images using ChatGPT with only one step
Now that you understand what ChatGPT is and how it works, let's walk through the process of generating images using ChatGPT with only one step. Follow these simple steps to create your own stunning visuals:
Step 1: Create an account on OpenAI
To use ChatGPT, you will need to create an account on OpenAI. Head over to the OpenAI website and sign up for an account. You will need to provide your email address and create a password to create your account.
Step 2: Go to ChatGPT
Once you have created your OpenAI account, navigate to ChatGPT on the OpenAI website. ChatGPT is a web-based application that you can use directly from your browser, so there is no need to install any software or plugins.
Step 3: Input the formula
To generate an image using ChatGPT, you will need to input a formula into the prompt section.
The formula is as follows:
INPUT = {focus}
OUTPUT = {description} \n 
{description} = {focusDetailed},%20{adjective1},%20{adjective2},%20{visualStyle 1},%20{visualStyle2},%20{artistReference}
INPUT = "YOUR INPUT IMAGE"
OUTPUT = "MORE DESCRIPTION OF IMAGE"
In this Image I show How to use this formula
Let's break down this formula to understand how it works. The first two lines define the input and output variables. The input variable {focus} is the primary subject of the image you want to create, while the output variable {description} provides additional details about the image's style and visual elements.
The third line defines the {description} variable, which includes several parameters that you can customize to generate the desired image. These parameters include the {focusDetailed} (a more detailed description of the focus), two {adjectives} to describe the image's style, two {visualStyles} to define the visual elements, and an {artistReference} to indicate the desired artistic style.
The last two lines define the input and output values. In the input line, you need to replace "YOUR INPUT IMAGE" with the URL or file path of the image you want to use as a reference. In the output line, you can customize the description of the generated image to provide more details or refine the style.
Step 4: Generate the image
Once you have input the formula, click on the "Generate" button to generate the image. ChatGPT will analyze the input and generate an image that matches the description provided. The generated image will be displayed on the screen, and you can download it or share it on social media or other platforms.
Tips and tricks to get the most out of ChatGPT
While generating images using ChatGPT is a straightforward process, there are some tips and tricks you can follow to get the most out of this powerful tool. Here are a few tips to help you create stunning visuals:
1. Be specific in your prompts
To generate the desired image, you need to be specific in your prompts. The more detailed and precise your prompts are, the more likely ChatGPT will generate an image that matches your expectations. Use descriptive language and provide as many details as possible to help ChatGPT understand what you want to create.
2. Experiment with different parameters
ChatGPT allows you to customize several parameters to generate the desired image. Experiment with different adjectives, visual styles, and artist references to create unique and visually appealing images. Don't be afraid to try different combinations and refine your prompts until you get the desired results.
3. Use high-quality input images
The quality of the input image you use as a reference can affect the quality of the generated image. Use high-quality images with clear and detailed visuals to help ChatGPT generate better images. Avoid using low-quality images or images with poor lighting or resolution, as they may result in low-quality generated images.
4. Edit and refine the generated images
While ChatGPT can generate stunning visuals quickly and easily, the generated images may not be perfect. Use image editing software to refine and edit the generated images to match your desired style and message. Add text, adjust colors, or crop the image to create a more polished and professional-looking visual.
Conclusion
Generating high-quality and visually appealing images is no longer a time-consuming and challenging task, thanks to the power of AI and machine learning. ChatGPT is a powerful tool that allows you to generate stunning visuals with only one step. By following the simple steps outlined in this blog and applying the tips and tricks provided, you can create visually appealing and memorable images that will captivate your audience and enhance your online communication efforts. So why not give ChatGPT a try and see what kind of images you can create?

